Need some assistance in creating your data collection tools? Kinaki has the “MEL Design Wizard” to help you!
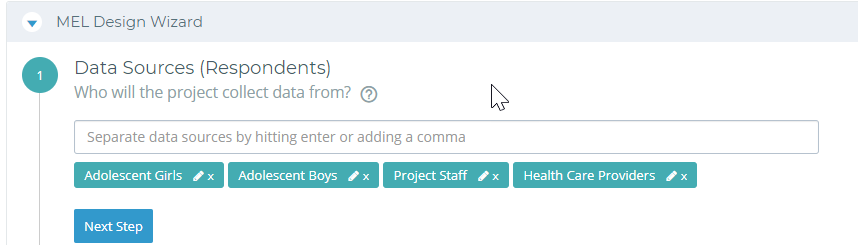
Step 1: Choose your data sources.
You can list the data sources/respondents in the given field and press enter to keep adding more categories. Click on ‘Next Step’ when finished.
Hint: Who are you going to collect data from?
Step 2: Choose your data collection methods.
Hint: How are you going to collect the data?

Step 3: Match your data sources with your methods.
Drag and drop the ‘Data Collection Methods’ from the green bar to match the ‘Data Source’ in each row.
Hint: Which method works best for each source?).
Once you are satisfied, click “Complete”!
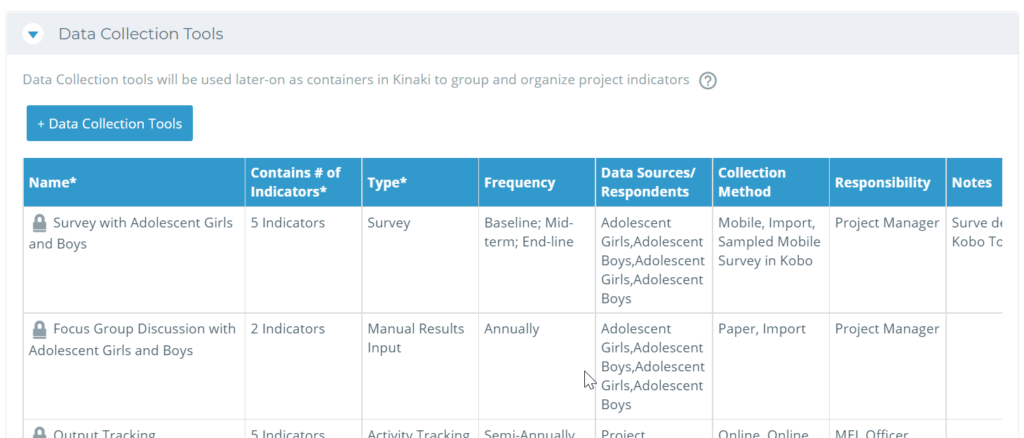
When you scroll down, you will see the “Data Collection Tools” tab with your filled out table!
Once you have completed using the wizard, you can make any changes or additions manually now. If you need to edit any DCT, just select the pencil icon/ blue edit button next to the name of the tool from the table. You will notice that you can also add notes to particular DCTs and update any details as needed. You can also add more data collection tools manually, if you did not add them while using the wizard, by clicking on “+Data Collection Tools”.
Once you create your indicators and attached them to a data collection tool, they will show up here as well! Think of this as a placeholder for those indicators still to come (the next step on your MEL journey!).
Check out Chapter 5 of this video to learn more!